自作サーバーへのKUSANAGI for VMware導入備忘録、【其の一】
 ぴっく(大須依存症名古屋人)
この記事を読むのに必要な時間は約 14 分です。
[注意事項]はじめに・おことわり
超高速WordPress仮想マシン「KUSANAGI」を
自作サーバーに導入するため、予行演習したときについでに作った備忘録です。
(登場する仮想マシンも予行演習用です。現在の当サイトを動かしている本番環境ではありません)
なお、画像内の各設定値はこの記事のために準備したフェイクなものです(FQDNとメアドだけ除く)。
もしまねをされる方は設定値を適宜読み替えてください。
ただ、手順を書いたことによって悪い心を刺激されて、「ハックして私のサイトをダウン」とか「サイトをぶっ壊すぶっ壊すぶっ壊~す🔨」なんて考えないでくださいね。 アクセスログ見てます(# ゚Д゚)
※企業がKUSANAGIを導入するときは、法人向けネットワーク機器(ファイアウォール)を用いる一方、当方は個人宅で家庭用ネットワーク機器なので……
本来、KUSANAGIはVMwareWorkstationProでしか動作保証されていません。
ですがWorkstationProが高価なのと、個人宅にて非営利個人利用なので中の人の自己責任にてWorkstationPlayerで構築しています。
この記事の内容をまねされたことに伴う、
発生しうる不具合や損害の責任は一切負えません。
自己責任でお願いします
あくまでもこの記事は個人の備忘録です 。
この記事はパソコンで見ることを前提に、画像サイズを大きくしてあります。
一応各画像はクリックで拡大しますが。
画像が多いです。モバイルデータ通信ではこれ以降の表示はお勧めできません。(Wi-Fiか、有線LAN推奨)
KUSANAGI構築のための手順すべては現時点では書けていません。【其の二の途中が途中書き】
下準備
VMwareのインストール
https://www.vmware.com/jp/products/workstation-player.html
途中の


Chromeのインストール
https://www.google.com/chrome/
後に出てくるディスクイメージ取得の手順で、Chromeじゃないとうまくいきませんので必ず入れる。
(詳しくは以下)

本作業
KUSANAGI for VMwareを導入し、とりあえず起動するところまでもっていく
KUSANAGI for VMwareディスクイメージの取得
https://kusanagi.tokyo/cloud/kusanagi-for-vmware/
上のサイトをChromeで開き、リンクよりディスクイメージをダウンロード。
CentOS7.2_64_kusanagi7.8.3.ovaを確認

KUSANAGI for VMwareセットアップ
VMware起動


仮想マシンを開くクリック


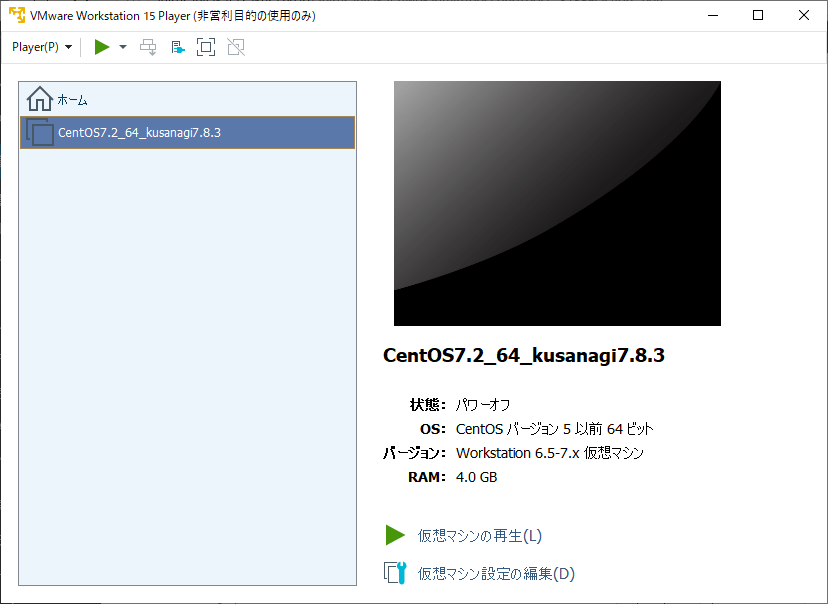
起動する。
(ホストとゲスト間のVMware側のネットワーク設定は、適宜「仮想マシンの設定」より、起動前に設定を済ますこと)

KUSANAGI for VMwareの初期設定以前の基本的な部分
rootパスワード変更
2-5.NW設定を各自分の環境に合わせます。
KUSANAGI for VMware
初期設定として以下が設定されています。
初期RootPassword:4XhXygXW9nAdisDb
https://kusanagi.tokyo/cloud/kusanagi-for-vmware/#Workstation12Pro
より引用
だそうだ。
パスワード放り込んで

ログイン完了
だが
初期パスワードのままだと超危険なので変更する。

念のためいったんログアウトして再ログインを試みる。


ゲストOS側のネットワーク設定の確認と設定
NETWORK初期設定
NIC:ブリッジ
IP:192.168.123.193
MASK:255.255.255.0
Gateway:192.168.123.254
KUSANAGI for VMware
https://kusanagi.tokyo/cloud/kusanagi-for-vmware/#Workstation12Pro
より引用
だそうだ

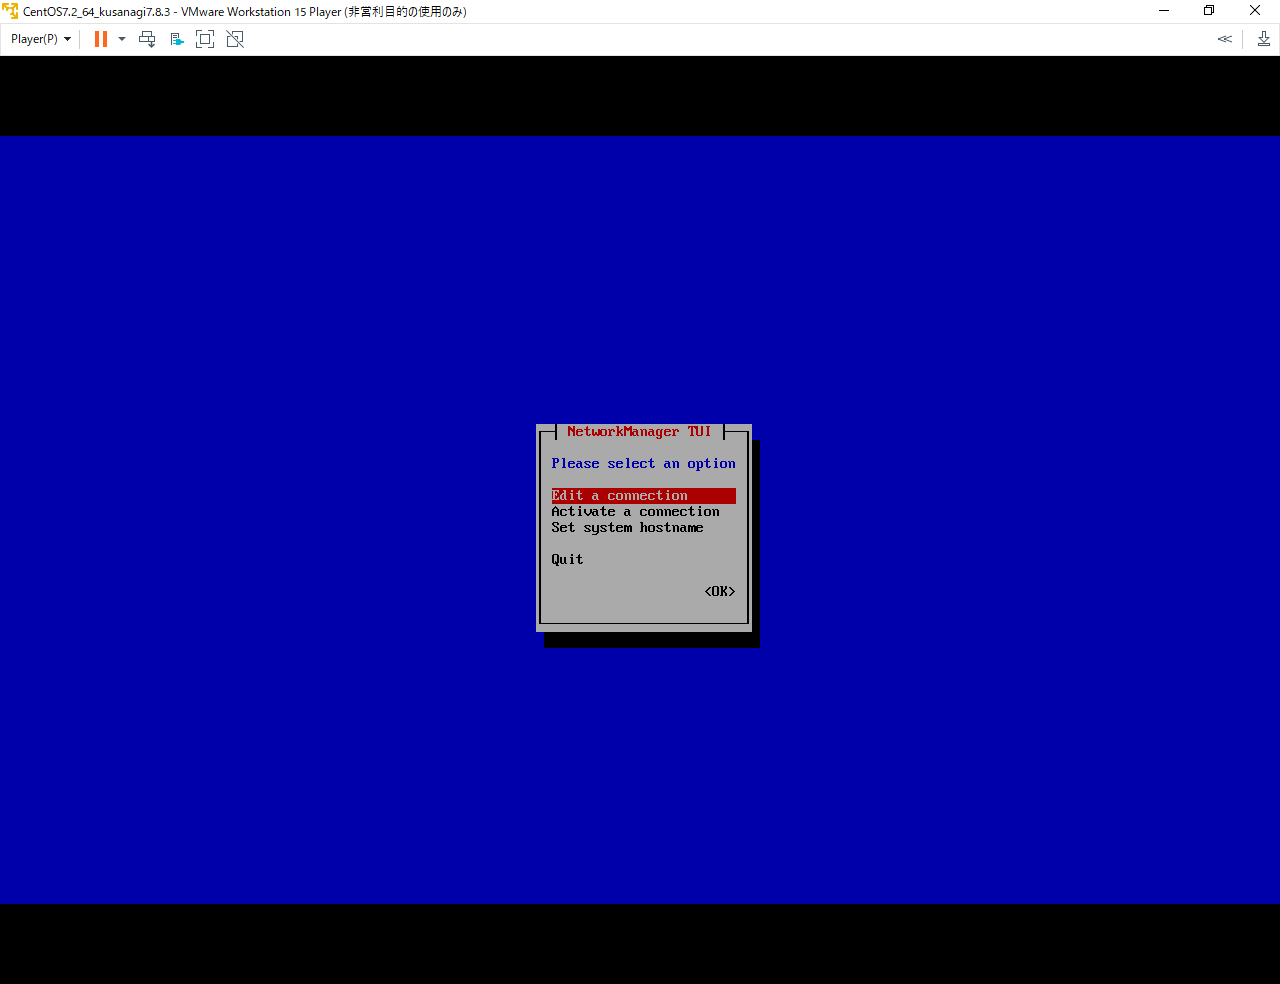
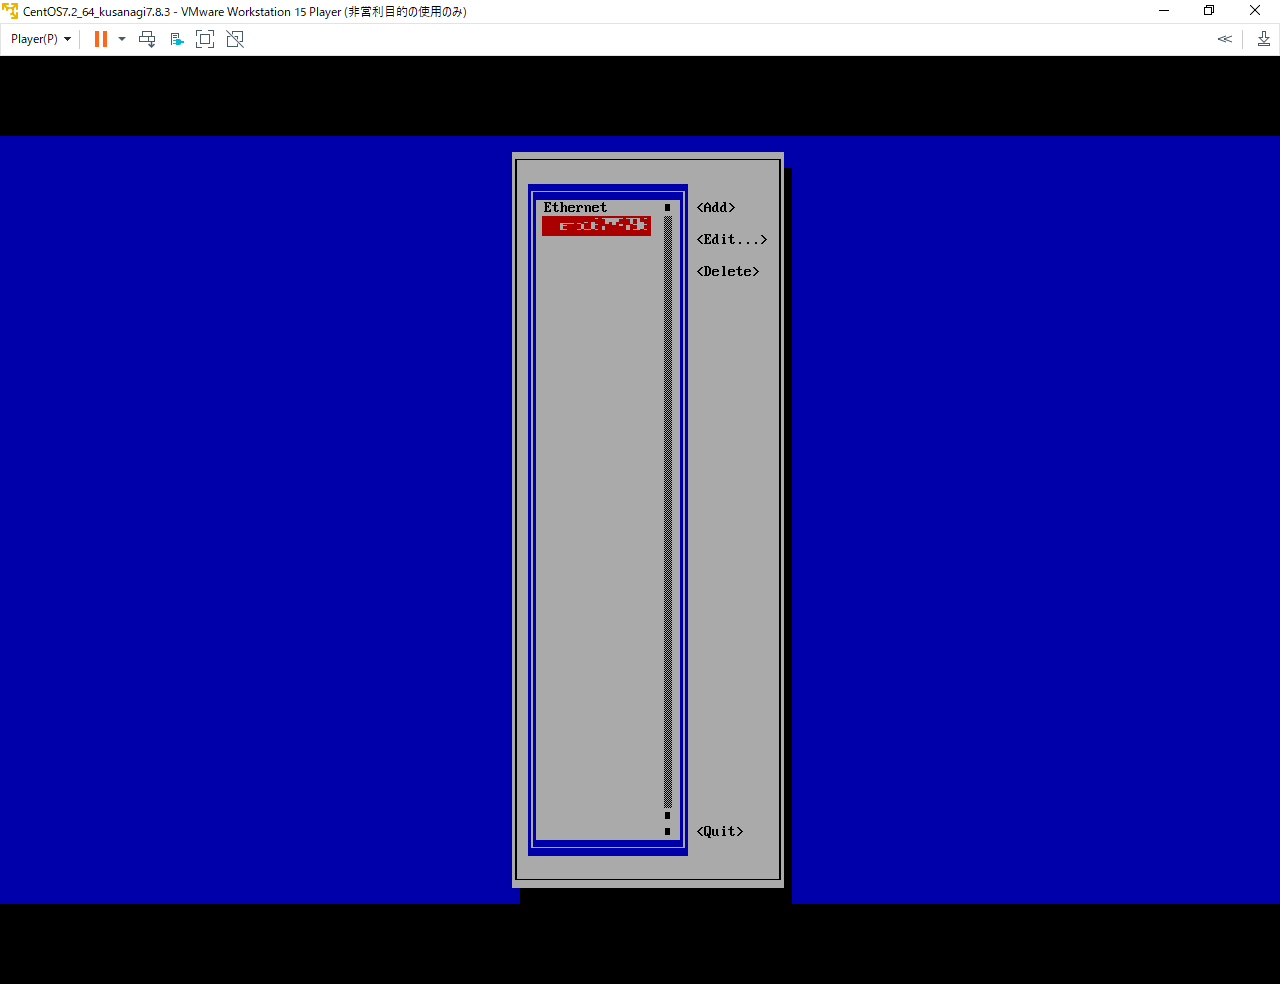

KUSANAGI側でIPアドレスを固定にするので、IPv4 CONFIGRATIONがManualになっているか確認。
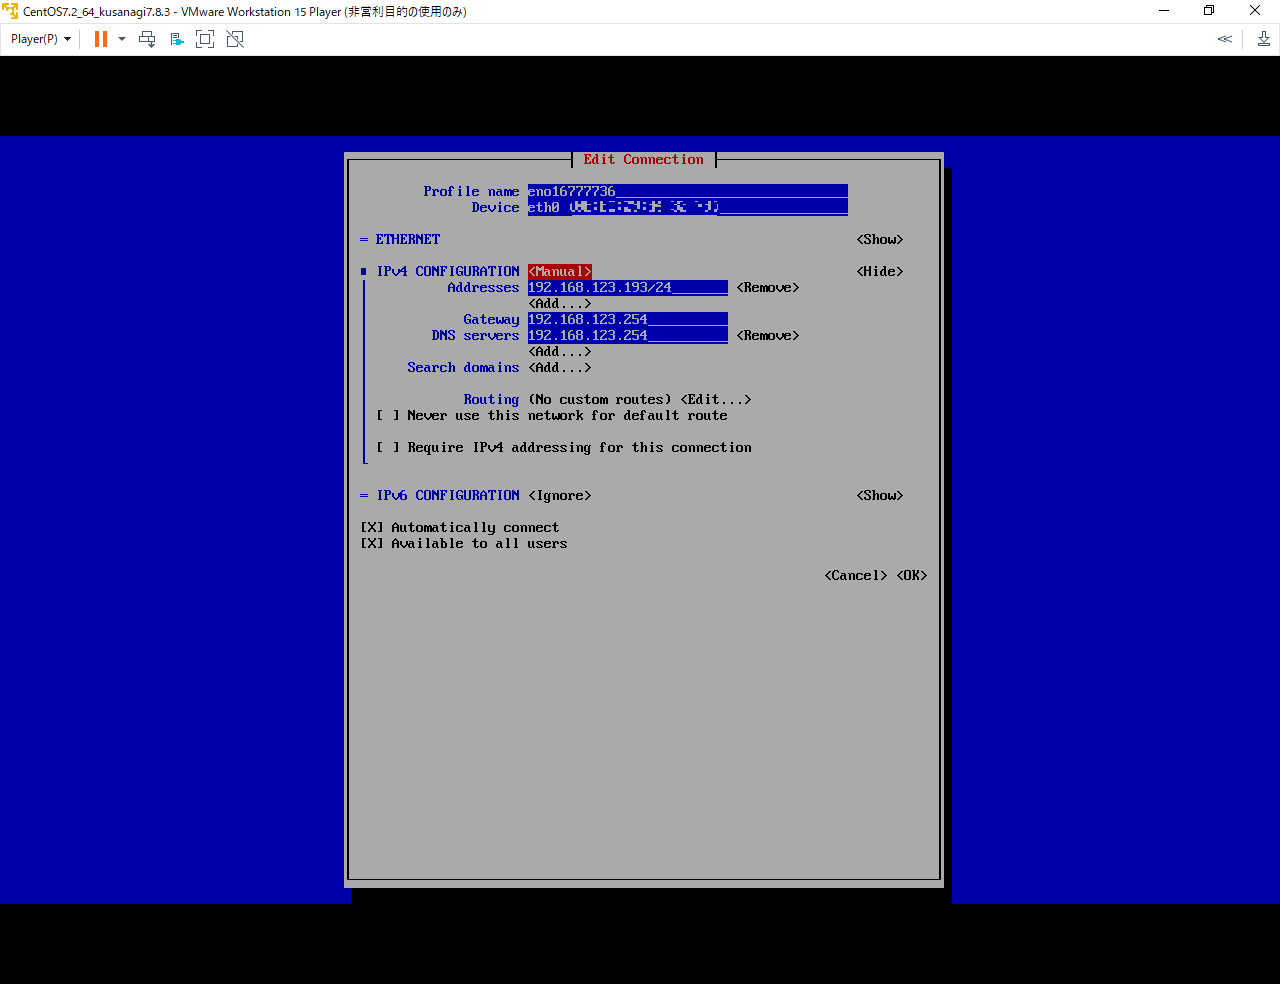
万が一なっていなければ変更する
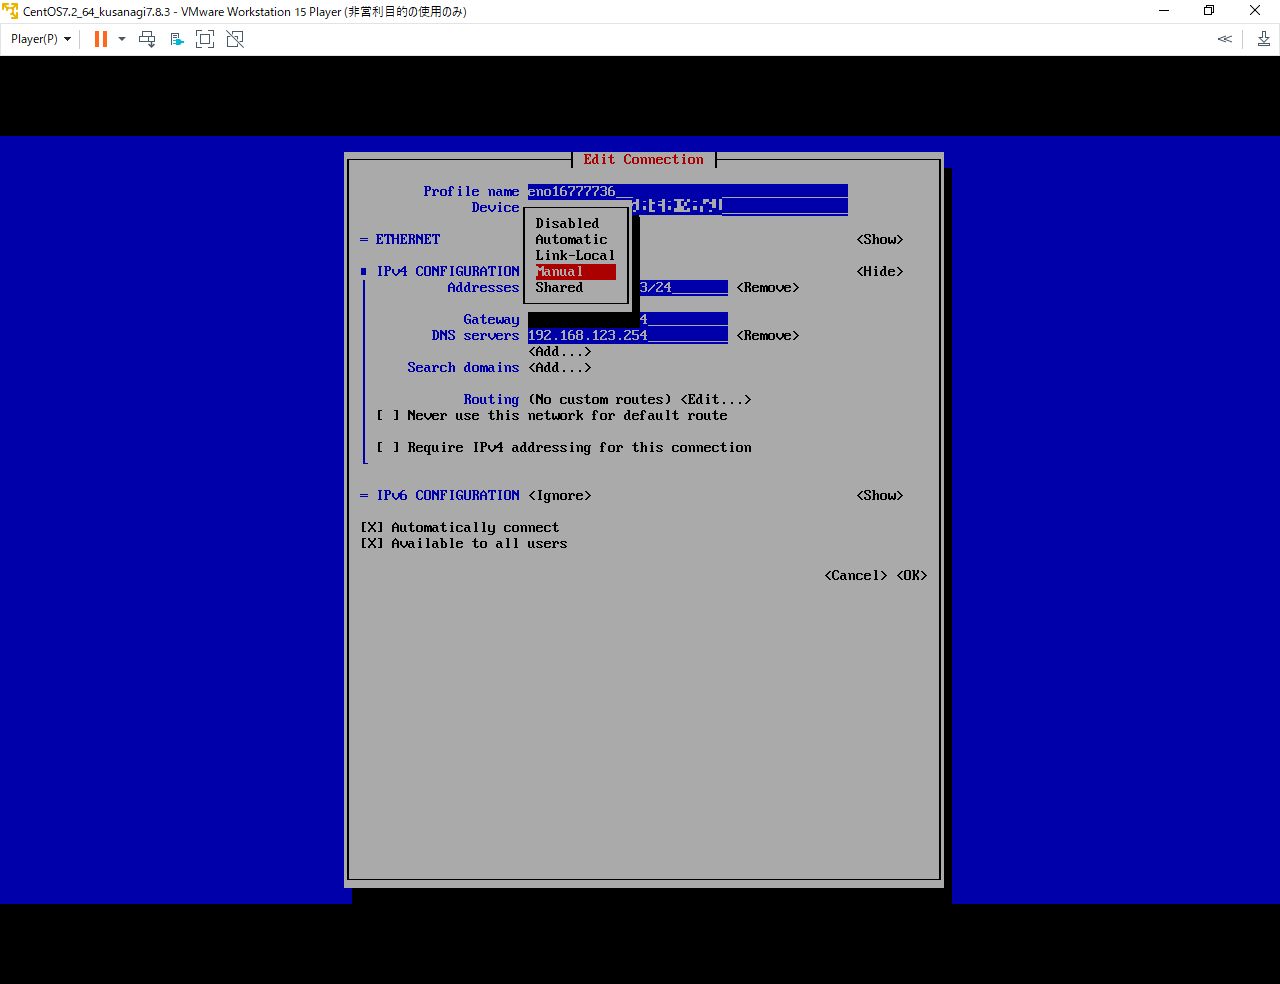
各入力欄をKUSANAGIを導入する環境にあわせて適切な値を入力すること。
| 【項目名】 | 【デフォ値】 | 【→】 | 【入力値 例】 |
| Addresses | 192.168.123.193/24 | → | XXX.XXX.XXX.XX/24(本機KUSANAGIのIP) |
| Gateway | 192.168.123.254 | → | XXX.XXX.XXX.XX(ルーターのIP) |
| DNS servers | 192.168.123.254 | → | XXX.XXX.XXX.XX(ルーターのIP、またはプロバイダからルーターに指定されたプロバイダDNSなど) |
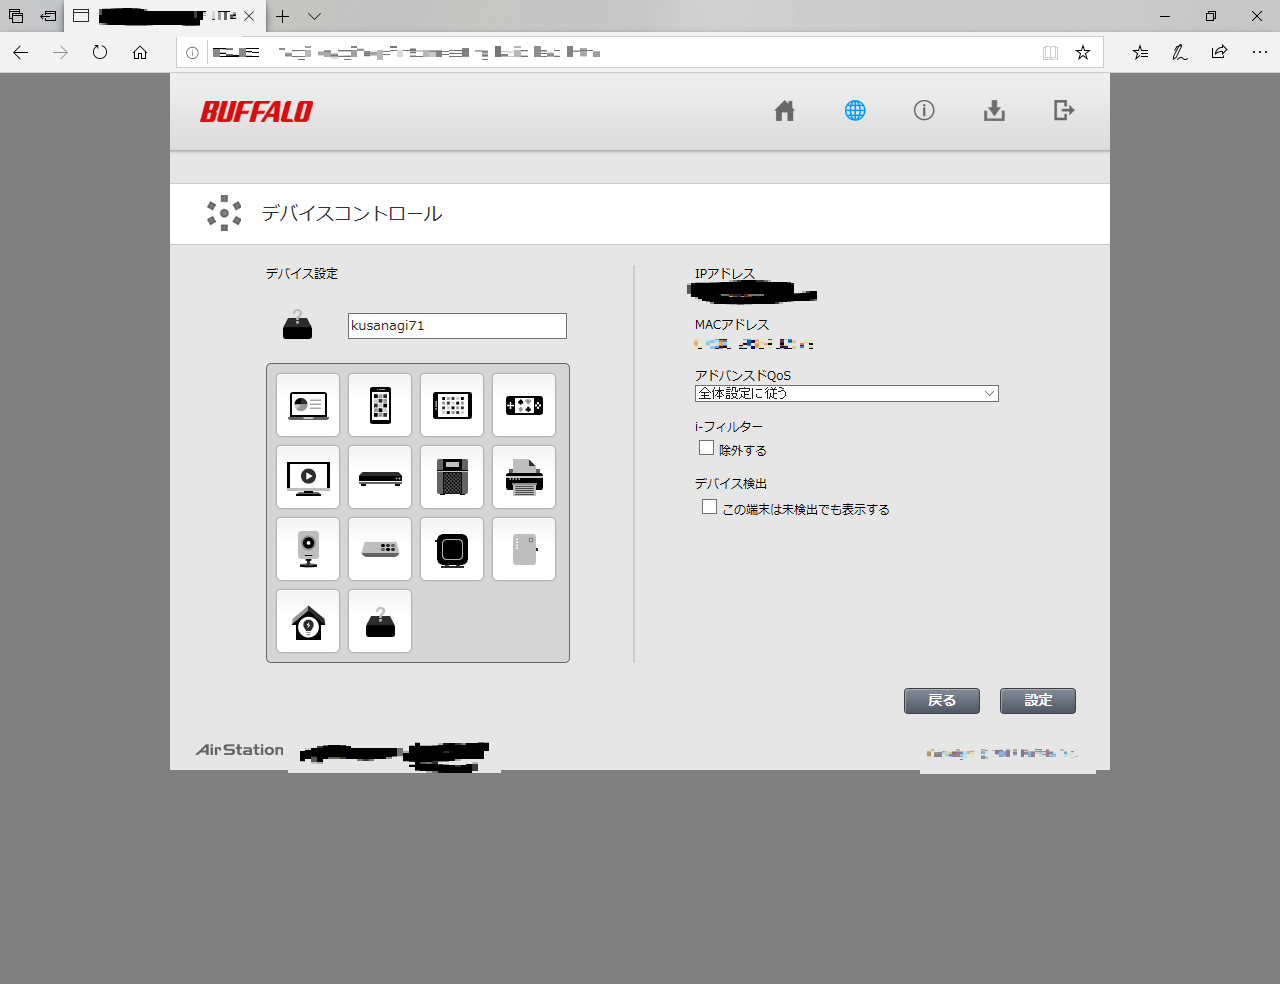
念のため、ルーター側からもIPを固定してやります。
ツイッターの相互フォローみたいな関係にしてやるってことね
《KUSANAGI》⇄《ルーター》
ルーターログインOPEN

いったんKUSANAGIを再起動してやります

いよいよKUSANAGI初期設定
https://kusanagi.tokyo/document/kusanagi-init/
上の本家の解説サイトの手順に従ってセットアップしていきます。
CentOS標準にはないKUSANAGIというコマンドもあるそうで、自分でLAMP環境から構築するよりも手数が少なくて済む。
ありがたすぎる高速WordpressKUSANAGI。感謝です( ´∀` )
アップデートの確認
KUSANAGIコマンドによる初期設定を行う前に、まずCentOSやKUSANAGIシステムのアップデートを yum を利用して行います。
次のように入力し、アップデートを開始します。KUSANAGIの初期設定
# yum --enablerepo=remi,remi-php56 update -y
https://kusanagi.tokyo/document/kusanagi-init/
より引用


終わったら再起動

なんか設定でつまづいたり
最初こう入力しちゃってたけど↓


kusanagi init [options]の[ ]って
「そこにコマンドが入りますよー」って意味だったみたい…
2. TLS用ホスト鍵ファイルの生成
KUSANAGIの初期設定
TLSセッションチケットファイル、DH(Diffie-Hellman)鍵交換で使用するパラメータファイルを生成します。
これらのファイルは /etc/kusanagi.d/ssl 下に生成され、すでに生成しているときは再生成しません。
マシンの性能によっては、このファイル生成に数分かかることがありますので、ご注意ください。
https://kusanagi.tokyo/document/kusanagi-init/
より引用
っていうのは後で行われる3. サーバタイムゾーンの設定のことについての説明だったのね。てっきりkusanagi init [options]入れたらウィザードみたいに対話的な設定が出てきて2. TLS用ホスト鍵ファイルの生成がされるのかなって思っちゃった( ´∀` )
まーいいわ、次の手順いきましょ
タイムゾーンの設定など
タイムゾーンの設定をしたいので


そうこうしているうちに終わってた。
どうやらタイムゾーン設定をしただけで、自動的に一連の設定を行うウィザードが始まってしまうようだ↓

Select your using languageなので言語を選べってことだね。
2:■ ■ ■ってのは文字化けしてる日本語っぽいねw

で、キーボードタイプ(キーボードレイアウト)を聞かれる↓

ほう、
kusanagiというユーザーが標準アカウントになるのね。(rootとは違う、Wordpressとかを扱うためのっぽい)
それのパスワードを入れんさいって。↓

お次はSSHのユーザー認証鍵↓

認証キーできたら、
NGINXとApacheどっち使うか聞かれる ↓

その後 PHPとかどーすんのーときかれる↓


さっきのネットワーク設定が適切でなかったら、
リポジトリにつながらない状態になり
以下の画像のようにエラー吐きます。

PHPが終わるとRubyどうすんのーって聞かれる↓

選択肢が一つ(Ruby2.4)しかないのに聞いてくるのね っと思っちゃった
確認のためだろ
でデータベースどうするか聞かれる

その後 mysqlのrootパスワード入れろと言われるので任意のパスワードをいれます
MariaDBが見つからないよっていうエラーがでますが大丈夫です。
さっきのPHPの時と同様、ネットワークがおかしいと後でエラー出てしまいますが、
正しいネットワーク設定ならば、
次の画像のようにパスワード入力後、無くなってるMariaDBを充てて(Upgrade)くれます


クリックで拡大

長くなるので次の手順は別記事に
コマンドとその振る舞いを参考にさせていただいたサイト
https://server-setting.info/centos/network-config-c7.html
NetworkManager 使用方法(nmtui編) | server-memo.net
CentOS7からはネットワークの設定は「NetworkManager」を使用することが推奨されています。今まで慣れ親しんだ設定方法とはガラッと変わってしまい戸惑ってしまいますが、…

画像モザイク
https://i-think-it.net/windows-image-mosaic-mspaint/
投稿者プロフィール
最新の投稿
 ミクミクルーム2026年1月1日ミク(グッズ)のためにワンルームを借りている話
 電子工作2025年7月27日ADS-B受信環境を整えて、Flightradar24をビジネスアカウントに仕上げよう
 お知らせ2025年5月17日Discordサーバーを設置しました。
- 未分類2025年4月28日試験ページ